The Interior
is mostly hand painted, except semi-gloss black part. I tried
Tamiya acrylic, but the pigment was separated from the solution, and
I couldn't continue. I ended up buying Testor's enamel, which
worked better.
|
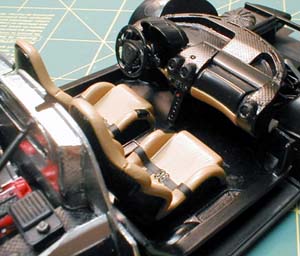
| The dashboard was painted semi gloss
black with Tamiya spray. Then, carbon fiber decals were
applied to the center and the side panels. The CF decal was
somewhat flat to my taste, so I coated the decal with Tamiya smoke
gray. |
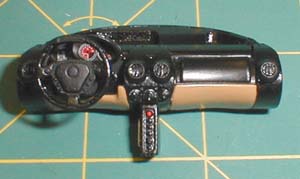 |
| I used decal setting solution called
Solvaset to let the CF decal conforms to the surface.
The a/c panel and lower center panel was
painted gloss black to give a contrast, while the a/c outlet rings
were painted flat black.
|
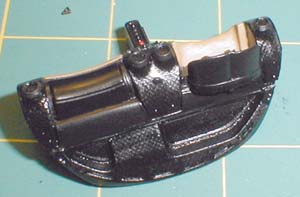 |
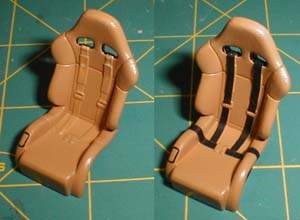
| The back of the seat was also covered
with carbon fiber decal. The seatbelt holes need to be touched
up with paint. |
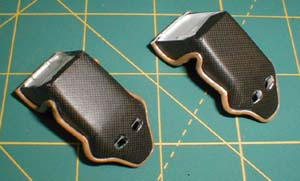 |
| The seat belt details are molded on the seat
part, which can be painted or hid by scratchbuilt or aftermarket
seat belts.
I placed Tamiya masking tape on the cutting board, painted it
black and cut with a sharp knife with 2.0 mm width. It seems
that 2.0 is a bit narrow, so I recommend 2.2 mm instead. |
 |
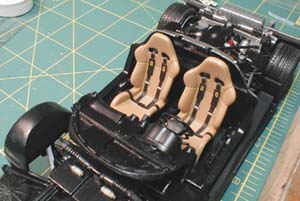
| Finished interior is shown. I
don't have any photo of the 4 point seatbelt on the real Enzo, but it
might be available as an option. The hardware is painted with Testor's chrome silver, and the
shoulder pads are also masking tape. Ferrari emblem decals are
included in the kit. |
 |
| Here's another view of the
interior. It's pretty much straight out of the box, and I
think Revell Germany did a great job. |
 |
|
  |