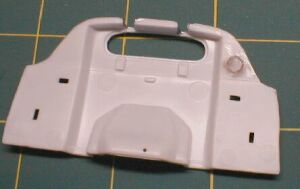
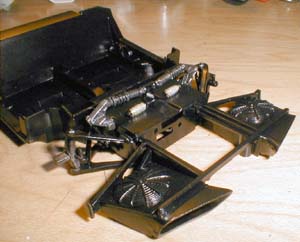
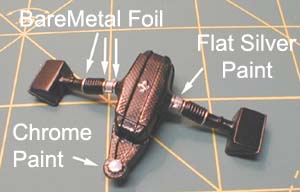
The chassis
is also very well done. The front section features the ducts
from the bumper, and the front suspension assembly is also well
represented. |
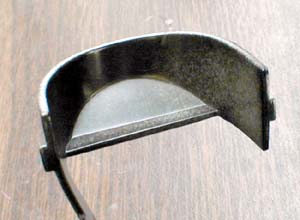
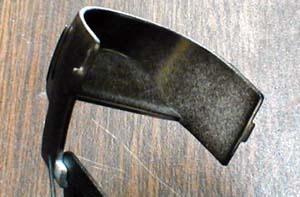
| The bulkhead has several ejector pin(*)
marks, and one of them was so noticeable, so I smoothed with sand paper. |
|
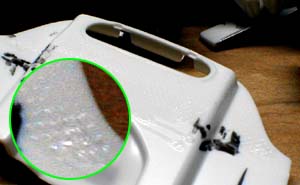
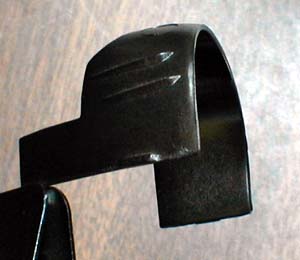
| In order to represent the texture of the
heat shield, I lightly applied styrene glue with a brush and
pressed a mesh sheet on it. Later, the bulkhead was covered
with BareMetal(*) foil. |
|
| Let me describe the spray painting in
detail. This is the first pass of the spray can. As you
can see, mist of spray is applied, and white plastic is still
visible. |
|
|
This is the second pass of the spray. It's getting darker,
but still not enough to hide the color of the plastic.
|
|
| This is the third pass. The out
side is almost opaque. There is no sign of paint run. I
usually count these three or four; passes as one paint layer, and I apply at
least two layers, taking 3 - 5 min. brake in-between. |
|
| A finished front section is shown.
Although the front will not be visible, Revell Germany left these
details for the modelers, who are going to open the front cowl. |
|
| I usually leave the copy right mark, if
it's going to be hidden. |
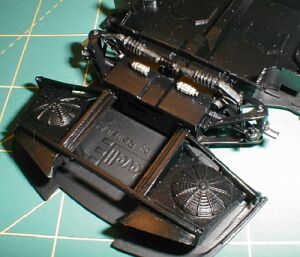 |
| Usually, I don't use dry brush technique
on car models. However, the electric fan is visible from the
outside, I thought it'd add a good effect. |
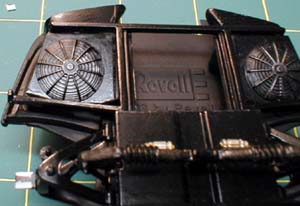 |
| While some parts still need to be
painted, the rear assembly is almost finished. It's very
stuffed without adding any detail parts. |
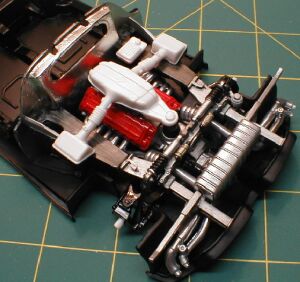 |
| The intake chamber was treated with a
carbon fiber decal, too. Solvaset successfully softened the
decal.
The rest are detailed with Testor paint and Bare Metal Foil. |
 |
| The wheel assembly is shown. The
inner and outer wheels are sandwiching the brake rotor, then the
rotor is glued to each upright. |
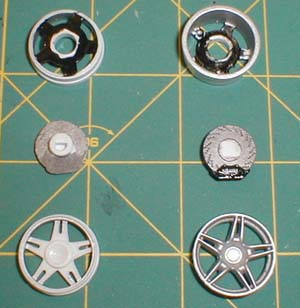 |
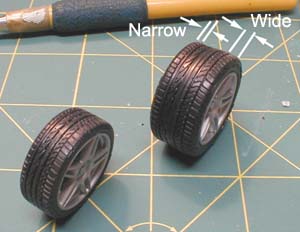
| Enzo's tire is Bridgestone Pontenza
Scuderia, and the size and tread pattern is very accurate.
According to Bridgestone website, the wider shoulder faces the
outside. |
 |
|
  |