|
| I've been working on this kit
for more than
eight years. Although it appears pretty close to completion, I
didn't
seem to have enough enthusiasm to finish it. I wanted this kit
to be highly detailed
to make people wonder if it's really built from the Revell kit. Followings are
some of the works I've done so far. |
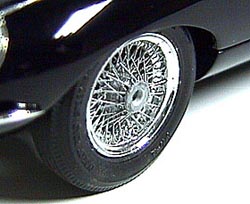
| The rims were
made of polyester putty. They were
shaped using the powered drill, because I didn't have a lathe. The
finished parts were shipped to Chrome-Tech USA for plating. The
spokes were completely laced by hand, using pieces of
brass wire, and they were painted with Model
Master Chrome paint.
I was only able to make one wheel a day,
because the work was so tedious that I couldn't keep focused longer
than that. |
 |
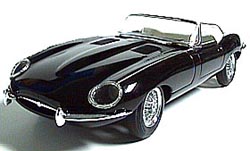
| The body was painted with Dupli-Color automobile
spray on the primer of the same brand. I didn't use clear coat
because the paint created
a deep and wet sheen. The bumpers and windshield frame were also
re-chromed by Chrome-Tech
USA, and I'm extremely satisfied with their job. |
 |
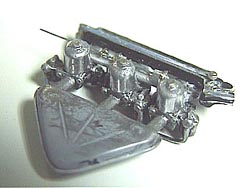
| The SU carburetors were
scratchbuilt, using
railroad model parts and pieces of aluminum rod. The throttle mechanism
was also scratchbuilt
using various raw materials. The rest
are the parts from the kit. |
 |
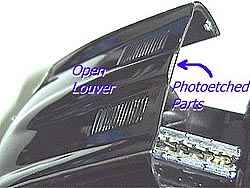
| Prior to painting, the louvers were
cut open,
and the piece at the end of the hood was scratchbuilt by photo-etching.
The hood locking
hardware were also scratchbuilt with plastic sheet and metal rod. |
 |
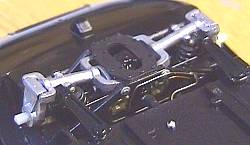
| The rear suspension is
made up of a sufficient number of
parts, but I had to scratchbuild the coils
because they had a noticeable pin marks. The disk brakes were
also scratchbuilt, using a piece of plastic and I modified aftermarket
parts to represent the calipers. The brake lines are made
of brass wire, and installed as
shown in the picture. |
|
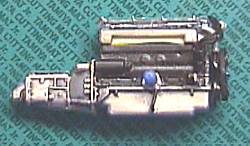
| The engine is basically straight out of the box. I added the plug cords and scratchbuilt the oil filter. Washing technique was
used to enhance the appearance. The plated cam covers are
straight from the kit. |
|
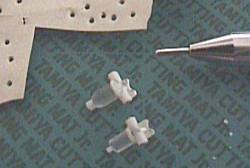
| The first attempt to make the fuel filter
failed
since I made it too big. I kept the big one for another 1/24th scale project and
made a smaller one. Those tiny bolt-heads were made by using a mechanical pen with the
tip sharpened with a metal file. |
|
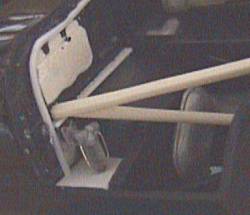
| The brake fluid tanks were removed from the firewall.
The fuel filter was test-fitted as shown.
Looking good so far. |
|
| |
|
|
 |