Page 7 of 8
![]()
![]()
![]()
Revell
Monogram
|
|
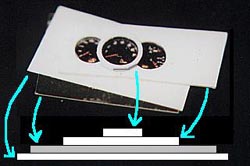 |
No decals are included for the gauges, so I scanned a picture, retouched a little and printed it on the transparency for ink-jet printers. Then it was sandwiched between the back sheet and outer rim. After that, the center rim was glued. |
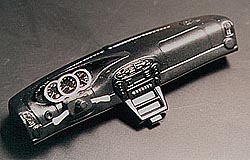 |
Finally, the excess part was trimmed, and it was placed to the dashboard parts as shown. I also added the turning signal and wiper levers. |
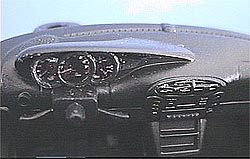 |
Once they were painted, the gauges look much better than the original kit. |
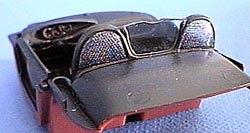 |
The wind deflector was glued. It's a little difficult to see in the picture, but careful painting did pay off. |
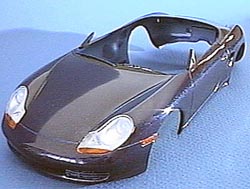 |
The rest of the body work was straightforward and were carried out by following my standard procedure. Clear overcoat was sprayed 8-10 times, and Tamiya finishing papers were used to smooth the surface. Then I used Micro-Mesh polishing kit to eliminate the scratches, and Tamiya Polishing compound was used to polish the body. |
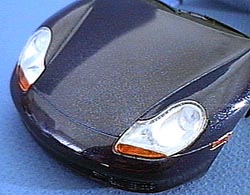 |
Finally, Zymol automobile wax was used to protect the paint. After that, black trims and intake louvers were painted black. |
|
|
|