|
Page 3 of 6
|
|
Toyota MR2 (SW20) Page 3 |
|
Updated on 04/29/02 |
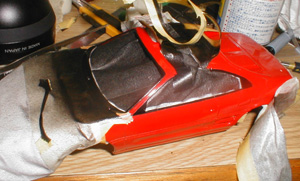 After
body was painted, I masked the body and sprayed semi gloss black on the
window trims. I used Tamiya's masking tape. The frame can be
hand painted, but masking and airbrushing is actually easier, and it saves
time, too. After
body was painted, I masked the body and sprayed semi gloss black on the
window trims. I used Tamiya's masking tape. The frame can be
hand painted, but masking and airbrushing is actually easier, and it saves
time, too.
|
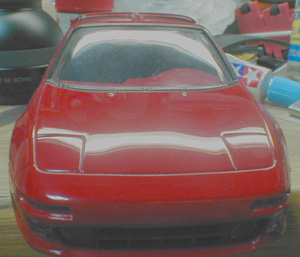 The
body was almost finished. Notice that the edge of the reflection is
crisp and sharp. The
body was almost finished. Notice that the edge of the reflection is
crisp and sharp. |
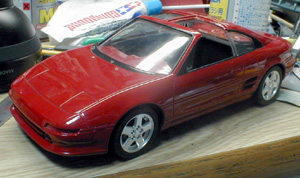 The
final process of painting the body is to paint the grooves. I used
enamel paint, because it doesn't attack lacquer base paint. I
thinned the enamel black, and used capillary action to let it flow along
the grooves by itself. The
final process of painting the body is to paint the grooves. I used
enamel paint, because it doesn't attack lacquer base paint. I
thinned the enamel black, and used capillary action to let it flow along
the grooves by itself. |
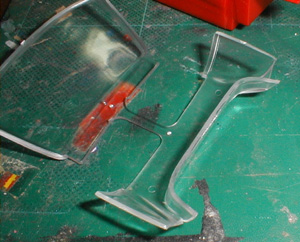 Next
step is to glue the window parts on the body from the inside, but before
that, the bottom edge of the window was sanded a little, because it interfered
with the interior tub, pushing down the chassis. Next
step is to glue the window parts on the body from the inside, but before
that, the bottom edge of the window was sanded a little, because it interfered
with the interior tub, pushing down the chassis. |
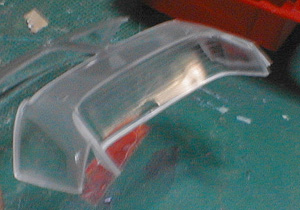 Also,
I noticed that the fear window had a nasty flow mark of plastic. I
sanded and polished the area, just like how I did on the body. Also,
I noticed that the fear window had a nasty flow mark of plastic. I
sanded and polished the area, just like how I did on the body.
|
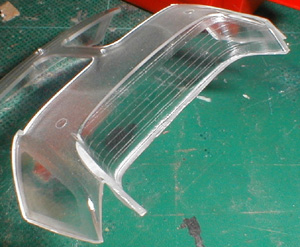 After
sanding and polishing was done, the window restored its sheen, and the
mark was gone. If you find any scratches or flow mark, careful
sanding and polishing will most likely be able to restore the part. After
sanding and polishing was done, the window restored its sheen, and the
mark was gone. If you find any scratches or flow mark, careful
sanding and polishing will most likely be able to restore the part. |
|
Toyota MR2 (SW20) Page 3 |
|
|