Casting
|
| I've been resin
casting for more than 20 years, and whenever I scratchbuild, I convert the
master to resin. Usually, master is made of several materials, and
even after thorough priming, differences in surface texture show up after
painted. Resin is useful to minimize that kind of risk. |
|
10-1
 |
These are the parts that were
finished at that stage. I decided to resin cast almost all parts,
except some complicated assemblies, such as the frame and derailleur. |
10-2
 Parts
were laid out in the way, that they don't trap air. Parts
were laid out in the way, that they don't trap air. |
10-3

|
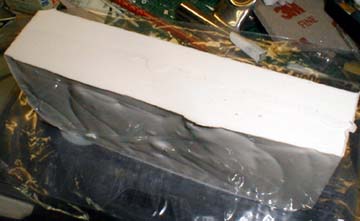
The parts were put in a clay,
and it was surrounded with a cardboard. Notice two pipes were placed as
a runner.
|
|
10-4

|
In order for silicone to flow into
the details, it's better pouring it slowly into a corner at the beginning.
Once, entire area is covered, it's alright to pour a little more quickly.
|
10-5
 |
After one side is done, remove the
clay, check for loose parts, apply the mold release wax, surround
the mold, and pour silicone.
|
10-6
 |
Here is a finished two-part
silicone mold. One side takes about 6 hours to cure.
Usually, I try not to rush to make a mold, and I usually take two nights for
a mold. (one side per night.)
|
10-7
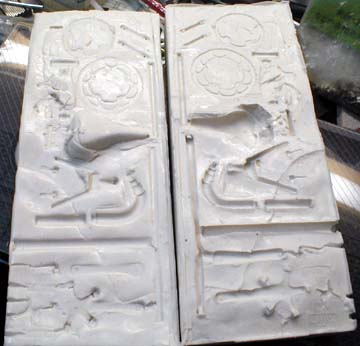 |
Here is another picture of the
finished mold.
I added grooves to connect the parts, so that resin flows throughout
the mold. |
10-8
 |
After I made the mold, I
realized that I forgot to include one brake part. Luckily,
one side of the part was flat, so I used "Kataomoi" (an instant
3D copier) to make a one-part (one-side) mold. Kataomoi softens in hot water, and it can be handled just like
clay. It solidifies to the hardness of eraser after cooled down, and it's
ready for casting.
|
|
| Resin casting isn't
so hard to do. It's a matter of deciding how to place a part to
prevent trapping the air. |