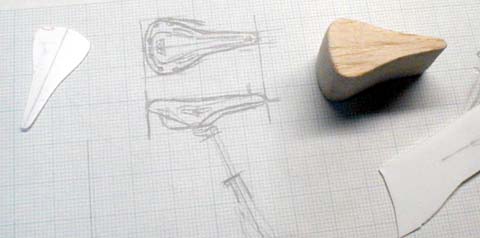
Seat
 I
used tracing paper to transfer the drawing to a balsa wood, and I cut and
curved the outline as shown.
I
used tracing paper to transfer the drawing to a balsa wood, and I cut and
curved the outline as shown.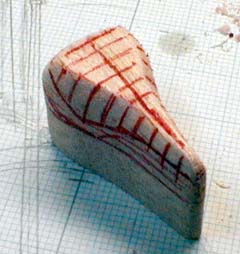
9-2b
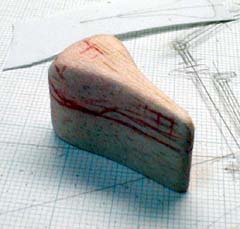
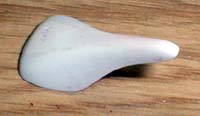
Then, I carefully sanded the rest to match the shape of the seat. The piece is symmetrical, so draw grid lines, and look at the piece from various angles to help determine how much to sand.
Finished master is shown in the picture 9-2b.
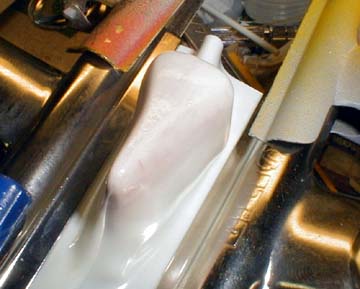
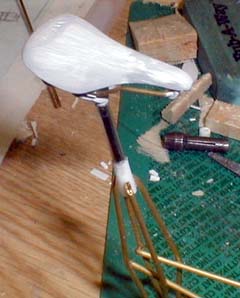
Fix the master with a vice. Clamp a sheet of plastic, and heat it slowly with a candle flame. Once plastic is soft enough, press it onto the master part as shown. Wait for 10 seconds or so, and remove the plastic from the master.
Try making several, and pick the best shape. I tried five times, until I was comfortable.

9-5b
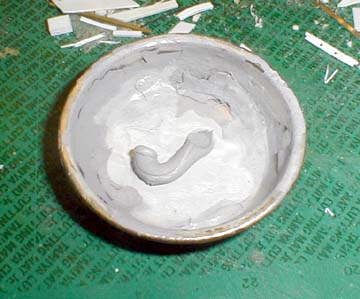
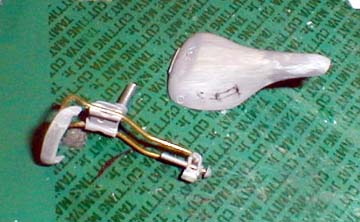
Trimming a vacuum formed or heat formed part needs a little care. Instead of trying to cut to the final shape at a time, always leave some margins, and cut small piece each time.
Then, file and sand to the desired shape.
I used TriMaster photo etched template to carve circles to represent the rivets.
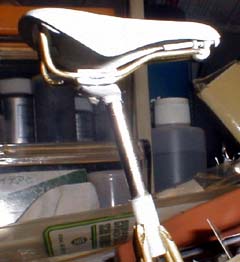
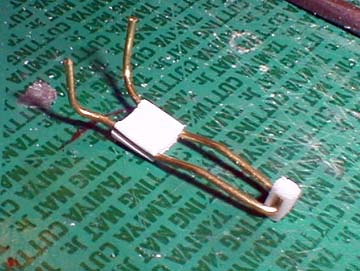
The tensioning bolt at the front of the frame was made from a brass rod.
The seat is Brooks Swift, and initially, I didn't have enough reference for it. However, thanks to google image search, I was able to find many photos of each parts. I recommend making use of it, when you have a trouble finding good reference photos.
Now that all parts were made, it's time to resin cast the symmetrical parts.