Front Derailleur
|
| The front derailleur
was less complicated than the rear one, but it still had multiple pieces
to complete the assembly. |
|
8-1a

8-1b

|
The center piece was made of a
laminated plastic sheet. The top side was left uncut, until all the
other sides were made. I drilled three holes, and I cut and opened
the slit. Then, I trimmed the outline to
the final shape.
Finally, the top side was cut with a hobby knife as shown in Photo
8-1b.
|
8-2a
 |
The chain guide was made with plastic
sheet as shown. Again, the slit was cut open first, and then, the
outline was cut. Instead of following the final outline, I left a margin around
it and carefully filed to the final shape.
8-2b
 |
8-3
 |
The slider rod was made of metal
pipe and pipe spring. It didn't have to be functional, so all the
pieces were glued together.
|
8-4
 |
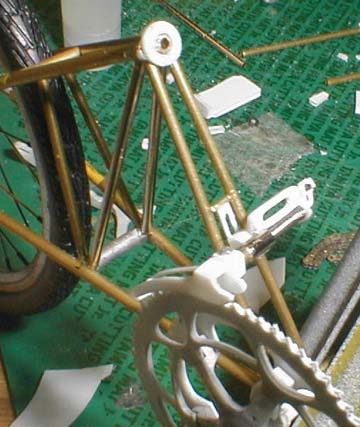
This is the right side view of
the finished derailleur.
|
8-5
 |
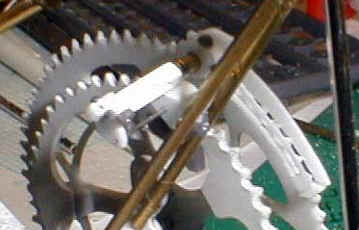
This is the left view of the
derailleur. White parts were all made with plastic sheet.
Chrome part is plated brass rod, and gray part is a very fine pipe spring. |
8-6
 |
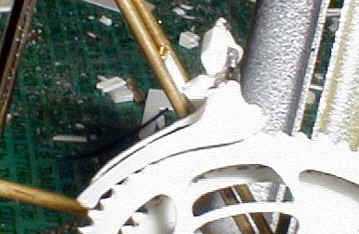
This is the left rear quarter
view. |
|
|
|
Next part is the seat, and I'll explain how to make a shell part like
it by the heat-and-smash method. |