Rims and Spokes
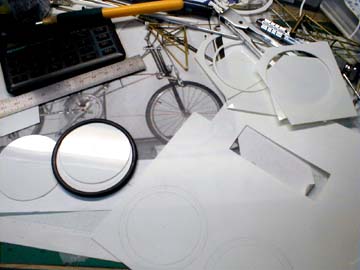
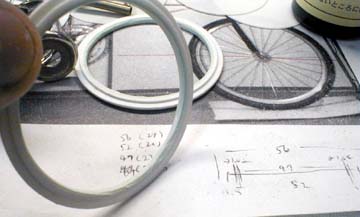
The rim on the other hand, had to be scratchbuilt. I thought of using my cheap lathe, but it wasn't meant for a precise job. So, I made them in an orthodox way of stacking plastic sheets.
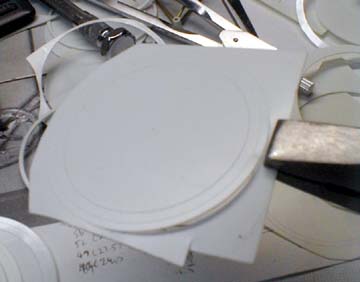
Plastic part of the rim was finished, and it was time to fill the beveled part with polyester putty. The reason why I didn't make the whole rim with plastic was because it was very difficult to bevel evenly without a lathe.
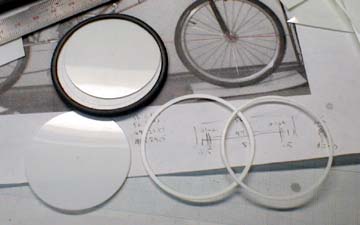
Also, Tamiya polyester putty is light green, and the color shift tells me when to stop sanding.
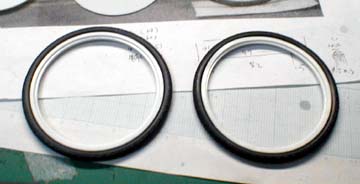
The finished and primed rims are shown in the picture below.
 The
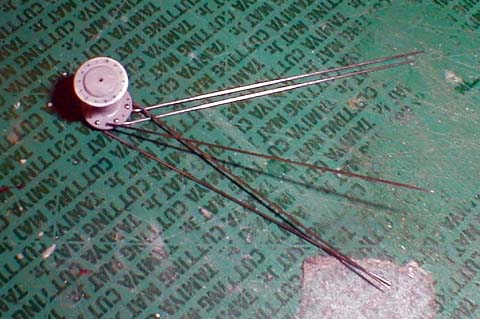
hub is made with Evergreen plastic pipe and plastic disks, cut out
from a Tamiya plastic sheet.
The
hub is made with Evergreen plastic pipe and plastic disks, cut out
from a Tamiya plastic sheet.
I used 0.3mm drill bit to drill 14 holes on each side.
Then, I used pliers to bend the tip of insect pins.
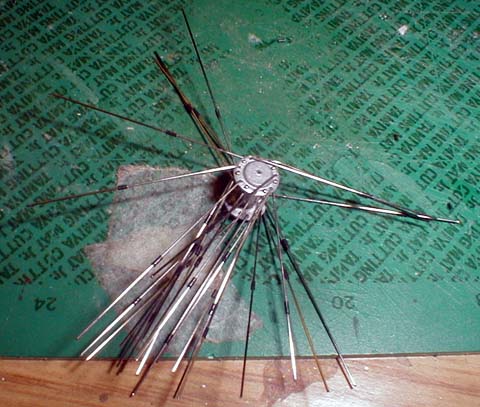 Then,
I pulled out the wires from a small electric cord, and saved it for later
use. The vinyl cord was cut to small pieces, and
they were installed to the insect pins as shown in the picture.
Then,
I pulled out the wires from a small electric cord, and saved it for later
use. The vinyl cord was cut to small pieces, and
they were installed to the insect pins as shown in the picture.
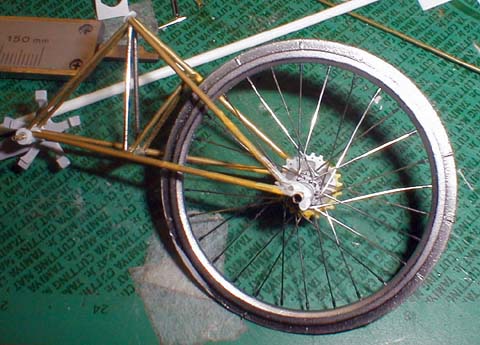 I
drilled holes on the rim, and inserted the spokes into them. Then,
the spokes were masked with Tamiya masking tape.
I
drilled holes on the rim, and inserted the spokes into them. Then,
the spokes were masked with Tamiya masking tape.
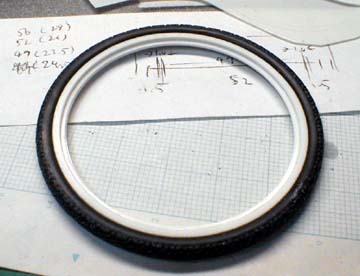
After that, I painted the rim in black, and then I airbrushed Alclad II polished aluminum.