Chain
Basically, you sandwich two brass pipes with two PE parts to make one inner link. Then, use two more PE parts outside of it, and connect them with a pin cut from a brass rod. Hammering both ends of the brass rod will secure the assembly.
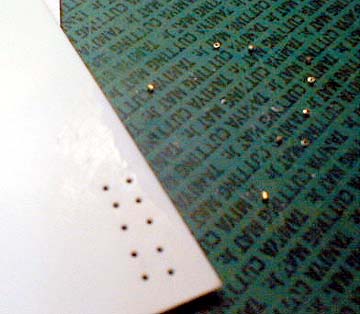
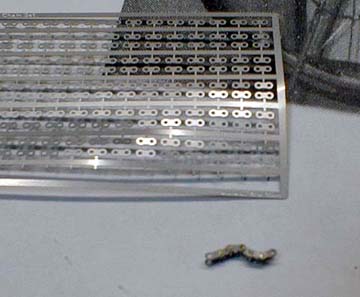
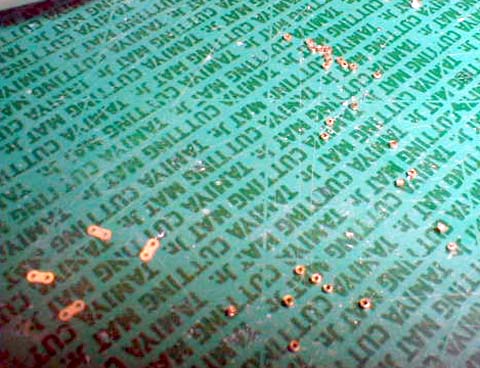
Stack plastic sheets to the desired pipe length, and drill holes to hold pipes of uneven lengths.
Then file the pipes a little to level the cutting angle of all the pipes with the surface of the plastic. It's okay that a few pipes are still sticking out of the holes. Turn the plastic sheet over (with pipes still in place), and file the other side until all tips level with the plastic sheet. This will equalize the lengths of all pipes. See two pictures below.
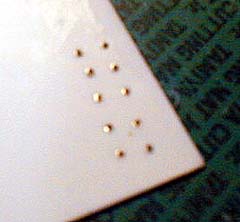
 Filing
the pipes deform the tip and make the inner diameter smaller, so use a carving needle
or a drill bit
to restore the original diameter, so the pins go in easier.
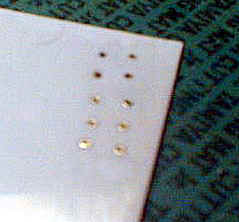
Filing
the pipes deform the tip and make the inner diameter smaller, so use a carving needle
or a drill bit
to restore the original diameter, so the pins go in easier.
I don't even remember how many pipes I had to make, but the job was rather easy after using the plastic jig.
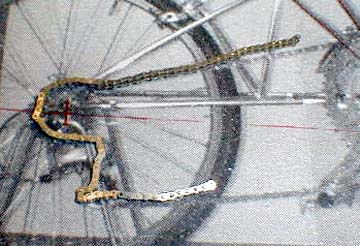
I couldn't help but to see how the chain would grab the front sprocket, so I test fitted the chain on a partially made part, as shown in two photos below.
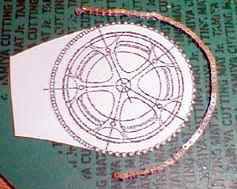
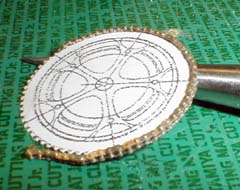
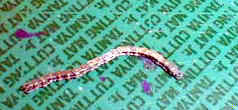
 The
chain was almost complete.
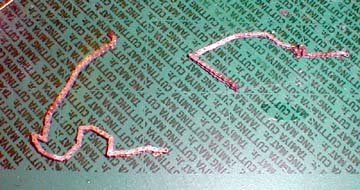
The
chain was almost complete.As I commented, I made two sections, and the one, which surrounds the sprockets is longer than the bottom section.
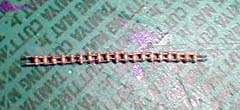
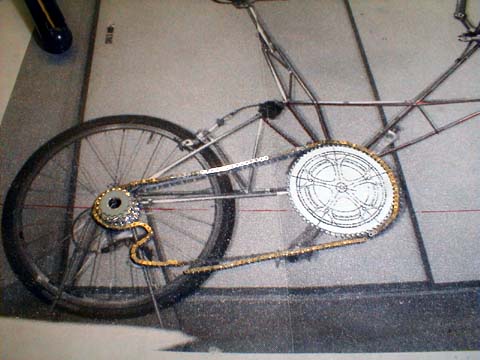
 I continued the assembly until I almost reached the desired
length.
I continued the assembly until I almost reached the desired
length. This photo shows that some brass rods are sticking out and uneven, so I straightened and cramped the chain with two rulers, and sanded both sides to smooth and level them.
Next step is to make the front suspension, brake and steering handle.