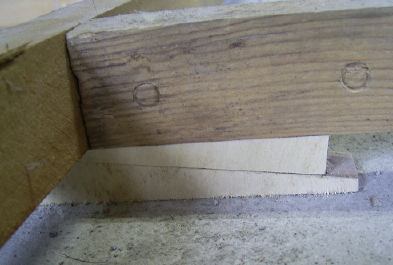
Here's a close-up of the shims - each place that a cross-tie meets one of the joists, there is a pair of matching wedges underneath. These were just roughly put in place at first, but were then carefully levelled with our home-made water levelling system. I bought a transparent bucket from the garden shop and glued a 5-meter length of thin transparent hose to it ...
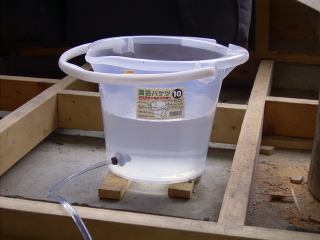
The other end of the hose was taped to a caulking cartridge. This was just the right size and heft for standing in place on the joists, and even had nice black markings printed on to make it easy to see.
Using a bucket like this is not absolutely necessary - just a length of hose will do - but it sure makes it a lot easier. When using just a piece of hose, the reference level constantly rocks up and down as the target is moved around the room, but by using a large mass of water in the bucket, this 'rocking' is eliminated.
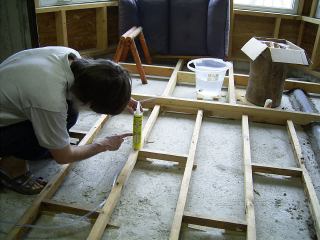
We placed the bucket carefully in place at one side of the room, filled it with slightly soapy water, and then established a reference mark on the cartridge by setting it in place at the highest point of the floor. Sadako and I then went over the entire floor, placing the cartridge directly over each shim in turn. She carefully sighted the levels, and called the measurements out to me. I adjusted the shims as necessary, and when each one was ready, glued it in place. (Sadako's digital camera is much nicer than mine, so it usually falls to her to take pictures ... makes it look like I do this work by myself all the time!)
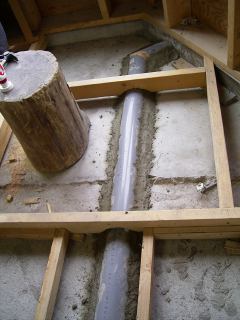
Once the shimming was done, next step was to finish setting the vent pipes in place. I mixed a coarse mortar, and packed it around the pipes as they lay in their concrete channels.
The packages of insulation arrived yesterday afternoon, so after this mortar dries, that'll be the next step ...