![]()
![]()
![]()
C5 Progress Report |
|
| Updated : 09/24/03 | |
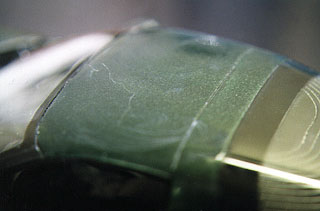 After Sanding |
After one polishing cloth was used, I changed the direction perpendicular to the previous one, then I used a finer cloth to sand evenly. In order to prevent the base coat from appearing in this phase, pre-paint smoothing works on the body was critical, and the clear coat had to be thick. |
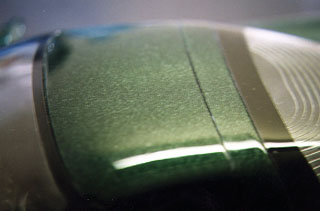 After Polishing |
Again, Tamiya polishing compound was used to polish the surface. If the surface doesn't appear to be smooth enough to reflect the light, father sanding has to be done. In that case, it would be better to avoid using the coarse clothes, and restart sanding with 6000 grid for example. If the color of the base coat appears on the polishing cloth, stop sanding and add another layers of gloss coat. |
 |
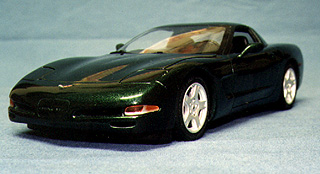
Once the body is finished, the remaining assembly is relatively easy. The wheels were painted with Testor's dull coat, then the tires were placed on them. Make sure not to put a wrong tire on each wheel since the front and the rear wheel diameters are different. |
 |
The windows were glued by using 5 minutes epoxy, then the hood hinges
were glued to the hood. Assembly of the interior and the chassis was not so difficult, but the firewall interfered with the left engine cover, and I had to cut the corner of the cover when gluing the engine assembly to the chassis. This could have been avoided if the engine was carefully glued to the suspension part. |
 |
All clear parts were glued with 5 minutes epoxy. Then the decals were applied. The instruction shows that the decal No. 4 should be placed on the battery, but it should be applied to the left side of the engine room. The decal, which says "Delco," is the correct battery label. |
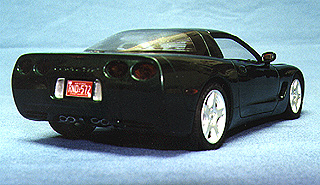 |
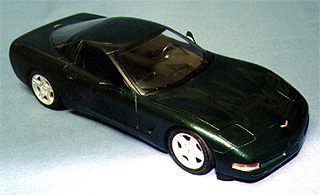
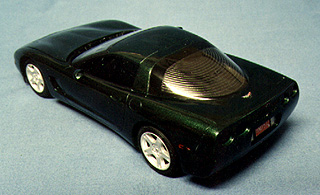
One last thing I did was waxing. I used Zymol automobile wax, and I found that it provides a very satisfying result. |
| More pictures of the Revell/Monogram C5 can be found in the Finished Projects page. C5 comparison isn't over yet. Next time is about the finishing work of the AMT/ERTL kit. |
|
C5 Progress Report |
|
|
|
|