Final Assembly
|
| All components were
finished, and it was time to paint them and put all the pieces together. |
|
12-1
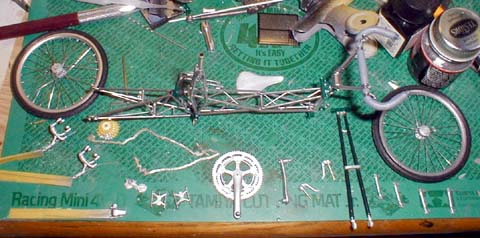 |
After position of each part was
determined, I painted the parts with various colors of Alclad II.
The frame was chrome, and the sprockets were aluminum. I also used
Testor's chrome for rivets and bolts. |
12-2
|
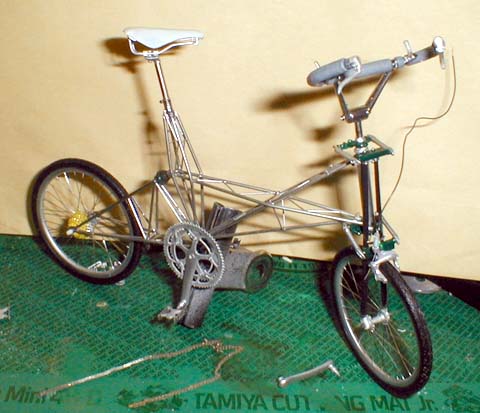
Some parts were painted in
metallic green. The real bicycle is custom made, and the owner
can choose any color. After painting was finished, I started
the final assembly with superglue, applied with a tooth pick.
|
12-3
 |
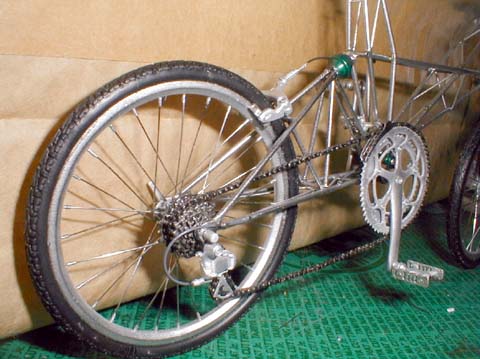
I installed the derailleur and
chain. When chain was installed, I
realized that all the hard work done to make the chain paid off. |
12-4
|
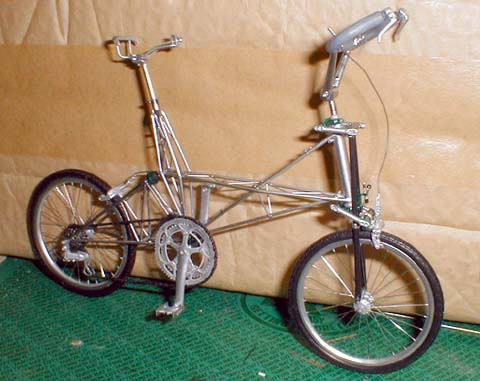
I carefully installed the rear brake
wire and gear
change wires with a pair of tweezers. |
12-5
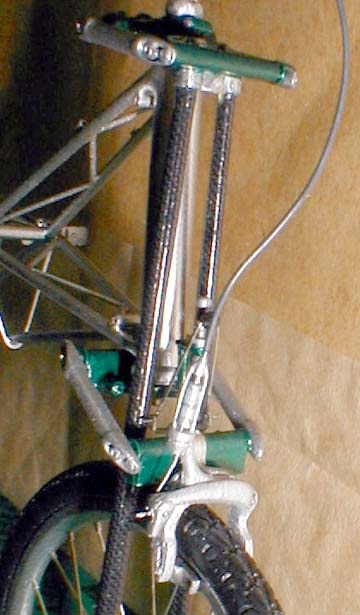 |
A close up of the front suspension
is shown.
Green was Finisher's Color "Jaguar Racing Green" . It was too dark
for the actual Jaguar F1 green, so it was replaced with
brighter and more accurate metallic green later.
|
12-6
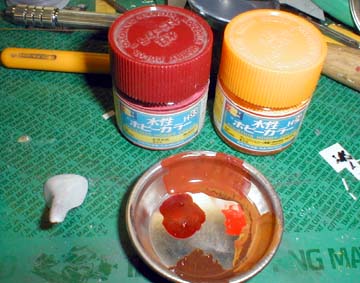 |
The seat was painted with a mix of
brown and yellow. You can see that I tried several different mixes
to find the correct color.
|
12-7a
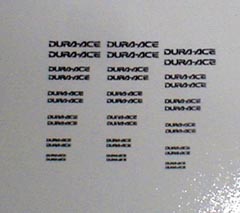 |
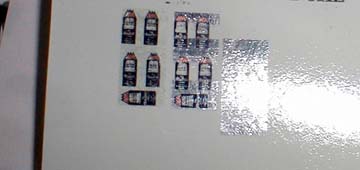
The decals were printed with ALPS
MD-5000 printer. I printed several sizes of Dura-Ace logos for
various locations. |
12-7b
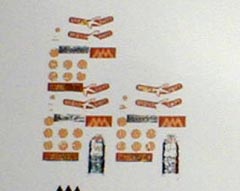 |
Brooks Swift logo was also printed on a
blank decal paper as shown. I thought of using AM logo as well, but
it didn't look so realistic, so I decided not to use it.
|
|
12-7c
|
Besides printing water proof
decals, MD-5000 is capable of printing images with chrome ink, and it's extremely
useful for emblems and logos. |
|
|
After all decals were
placed, the assembly was finally finished. I don't know how long I
spent to complete the project, but it was well over 200 hours.
Although I couldn't keep the model, I was glad that I could
maintain my motivation to finish the model. It's time to go back
to car modeling and finish many of my scratch building projects. Finished model can be seen in the gallery
page. |