![]()
![]()
Two years since the last update! I haven't been putting exact dates on these pages, but the previous one was actually posted August 29, 2004. I have done absolutely nothing down here for two full years ...
Of course, when I say 'nothing', I mean 'no construction work'. There has been a lot of printmaking work done! Throughout 2005, the incredible amount of work done on the Hanga Treasure Chest project meant that everything else had to be put aside; there was just no time for anything else at all. But once that was done and I started on the Scroll project, there was no reason at all why construction work down here shouldn't pick up again.
But I got involved with the new Mokuhankan project ... and finding a block of time to set aside for this just never seemed to come together. Another factor is that the next logical step in this construction should be the ceiling, and that's going to be a difficult - and time-consuming - job. So I've just kept postponing and postponing ...
Here we are though, with an update! I have a little 'block' of time free just now; next week I will be heading over to Canada for a visit with my daughter to meet my new grandson, and there isn't enough time left before I go to do any major work on the prints, so I'm using the time to try and catch up with various backlogs. And this room certainly qualifies for that! There is no chance to do the ceiling, but the workbench area needs work too, so that's what I've started on today.
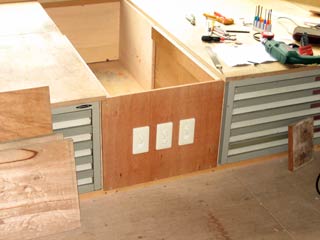
Just about three years ago, in October of 2003, I started to use this room for actual work. I think I was just 'testing' the place at first, but once I started using the work platform, just never went back upstairs. So today, before I could start work on the wiring of the track light system, there was a bit of cleaning up to do!
|
Three years worth of wood chips! I've just been sweeping them off the bench into the 'well' for all that time ... These chips aren't 'garbage' by the way. They will go to Sadako's garden, to be burned for ash that she will then use to mix with soil and compost.
I didn't get a part-way photo of this next bit, but I cut a plywood panel to fit the front end of the well, chopped three mounting holes in it, then screwed three dimmer switches into place.
|
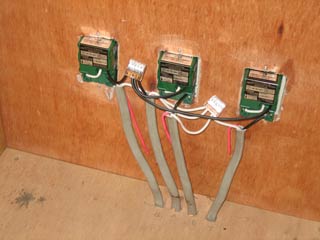
There is one for each of the three track lights that will be mounted vertically in front of my working position - between the front windows.
Here's the back side. Luckily, I had the sense three years ago when I put these wires in place, to label them showing which one was the power feed, and which ones led out to the track lights, so wiring this up today was just a few minutes work (these 'modern' connectors are so easy to use - no more soldering and sticky black tape wound around everything!)
|
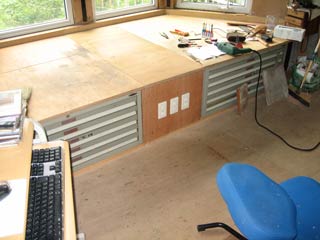
Slide the top panels back in place, and we're done! I forgot to take a separate shot of them, but you can see the lower ends of a couple of the track lights now mounted on the wall. Tomorrow I'll take a trip to a very large new hardware store nearby, and see what they've got in the way of suitable lights that I can use.
|
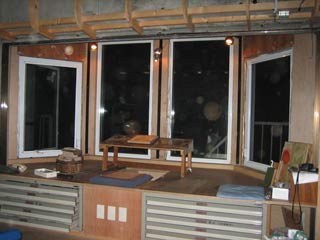
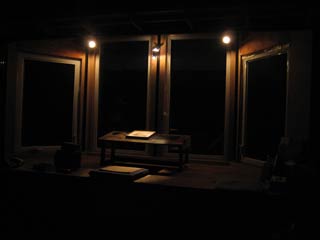
So, here we are, a day later ... I found a couple of lights at the hardware store that look like they may be suitable ... Let's shoot the scene twice; once with the flash activated:
|
... and then again with the flash turned off ...
|
It's going to be a very nice environment in which to work! And to think that I waited two years to get this done ...
![]()
![]()