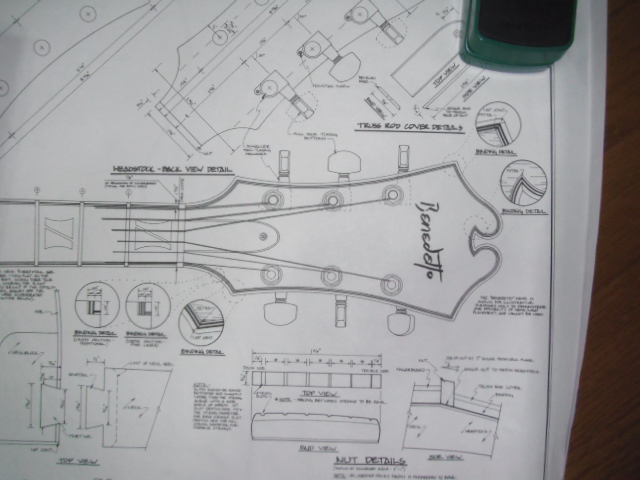
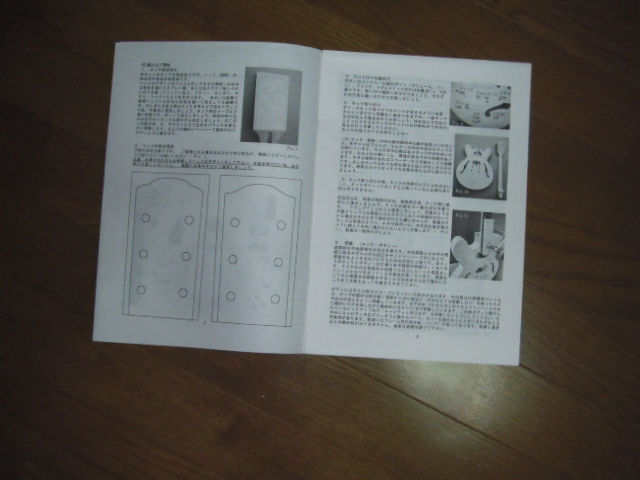
This is the plan of necktop. I think I will go with this.
No way! The size is quite defferent.
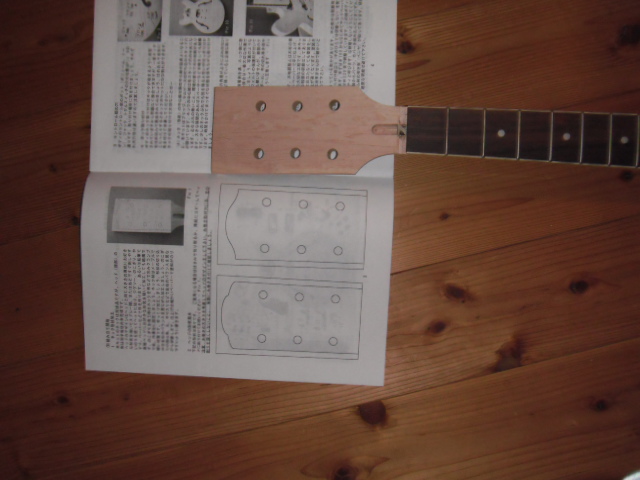
So I will go with one of those which are on the Hosco manuals.
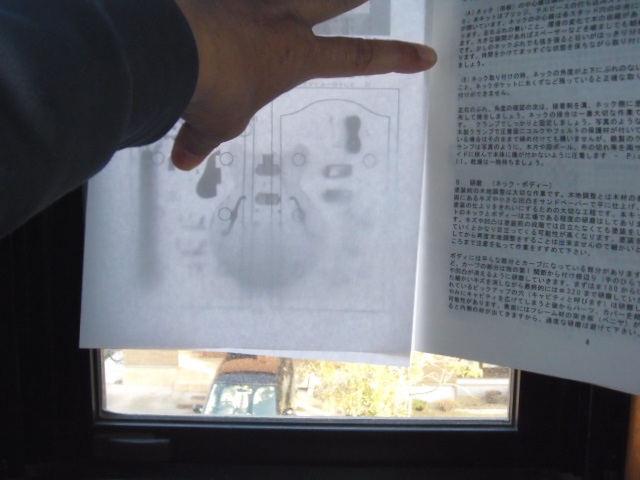
Put the plan and another paper on the window glass so that you can trace the plan.
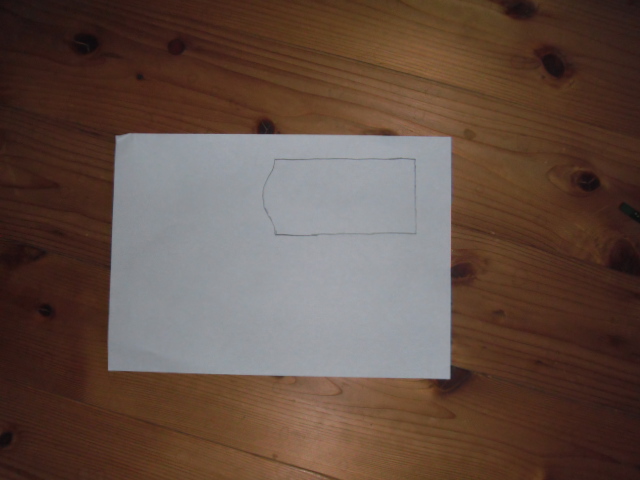
Now you got a copy of the plan.
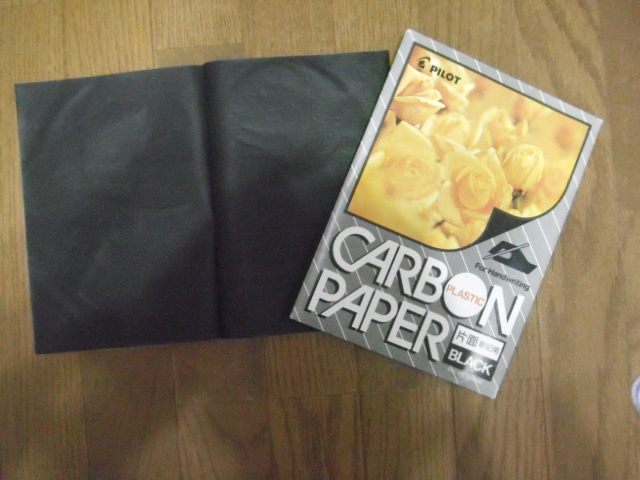
You need a carbon paper this time.

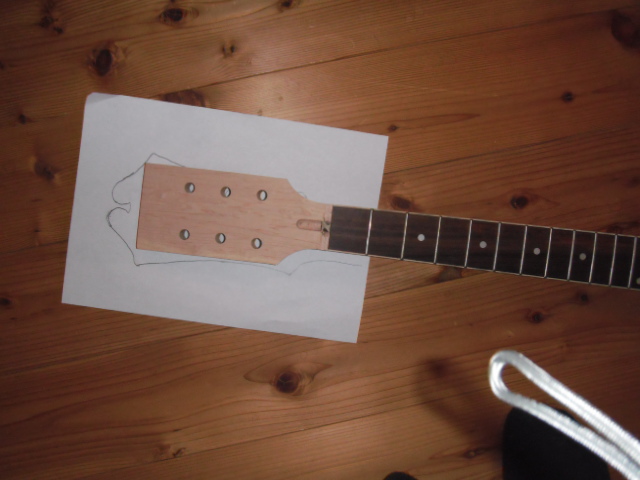
Okay. Let's trace on the neck wood.
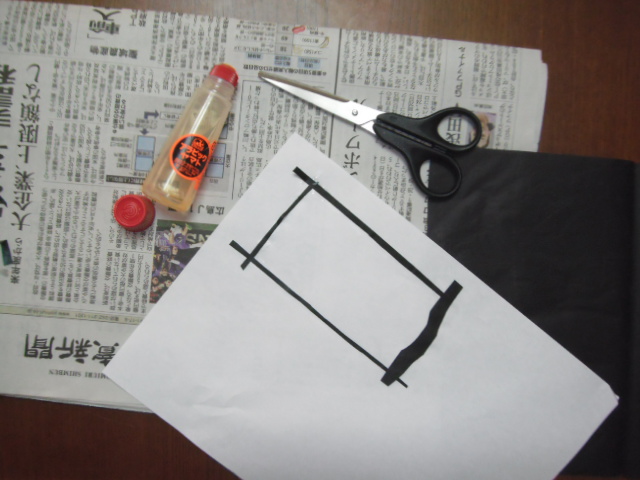
I pasted carbon papers along the line so that I can trace correctly on the wood.
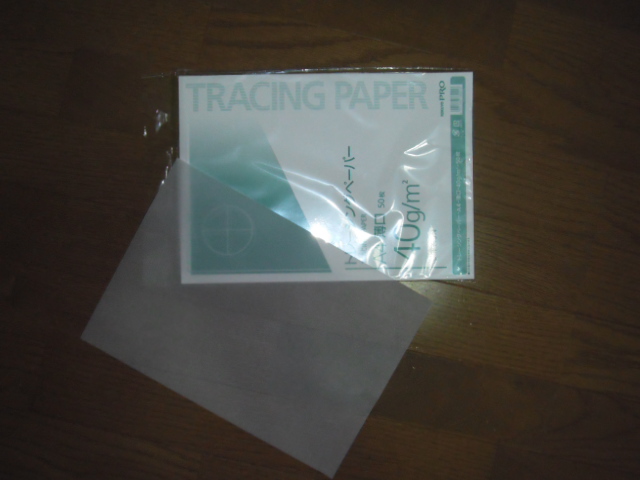
買ってきました。さっきのやり方だと失敗しそうだから。最初からそうしたらいいのにね。
Yey! I bought tracing papers. I won't fail to copy.
I changed my mind because it would make much easier to copy and paste. I should have bought these much earlier lol.
I am kinda short tempered , therefor the guitars I have made are rough. This time I should consentrate on reading the manual and get on money.
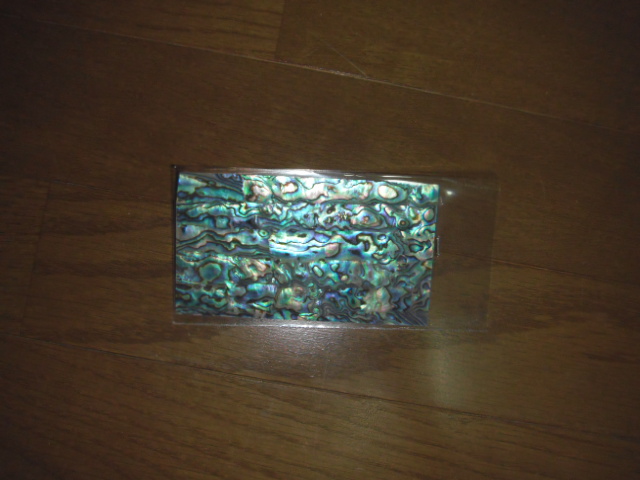
厚さは、わずか0.2mm。
Btw this is a inlay schell which would put on the neck top. I bought it in Daiwa Co. I think this company is pretty kind and the price is quite reasonable.
Here's the link to the company.
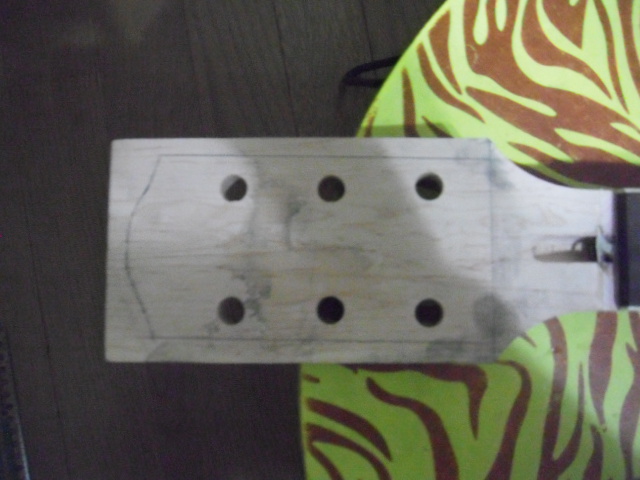
Yep! I'm done with tracing on the wood.
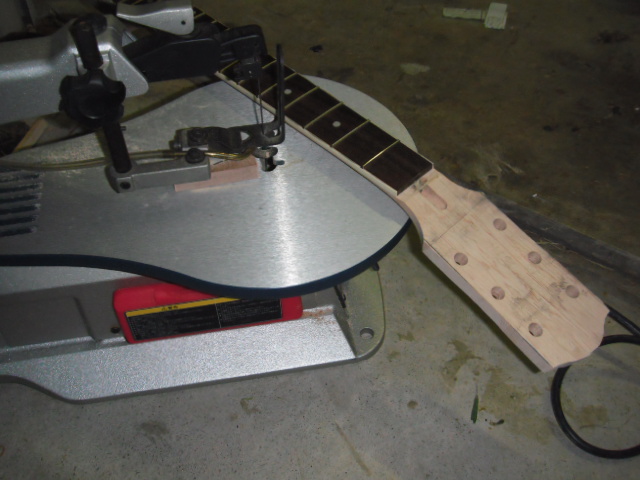
I woke up at 4AM and cut out the neck head.