![]()
![]()
|
 |
||
| While, putting up and taking the model out the
shelf, a piece on the head (!) Because the part is small, gluing
the broken part back won't be enough to hold the stress, so I
decided to install a small metal rod inside.
This should be useful if you break a pin or fine detail of a model. All you need are a good pin vice, small bit and metal rod. |
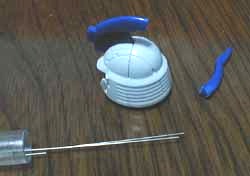 Figure 2.1 Broken pieces |
||
| I used a pin vice to carefully drill a hole on both sides. The size of the bit was 0.3 mm. | 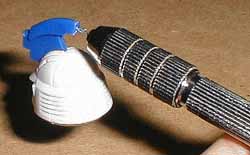 Figure 2.2 Drilling with a pin vice |
||
| Then I cut a metal rod of 0.3 mm diameter, found at a hobby store, and inserted in the part shown. After that, the broken part was welded to the main part by using an excessive amount of glue. When glue was completely dry, I used sand paper to remove the excess plastic. |  Figure 2.3 Small metal rod is inserted. |
||
| The same welding technique is going to be used to glue all parts. Here, the head halves were glued together in the same manner. Excess plastic is shown along the weld line. | 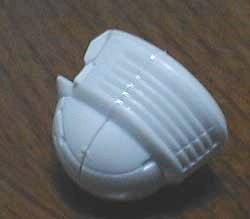 Figure 2.4 Glued head parts |
||
The leg part is another good piece to practice this method, because it usually have less details to recover, and the area is wide for easy sanding. |
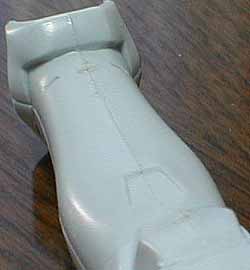 Figure 2.5 Glued leg parts |
||
| Another view of the same parts. For some
reason, the edge of the leg part are noticeably deformed and raised, and
it stand out when two halves were glued together.
It can be easily corrected if welding technique is used. All I have to do is to file and sand. |
 Figure 2.6 Another view |
||
![]()
![]()