| サーバー側の初期設定 sshdの設定 root権限にて(su スーパーユーザー) /etc/ssh/sshd_config の編集 ------------------------------------------------------------------- # $OpenBSD: sshd_config,v 1.56 2002/06/20 23:37:12 markus Exp $ # This is the sshd server system-wide configuration file. See # sshd_config(5) for more information. # This sshd was compiled with PATH=/bin:/usr/bin:/usr/local/bin:/usr/X11R6/bin # The strategy used for options in the default sshd_config shipped with # OpenSSH is to specify options with their default value where # possible, but leave them commented. Uncommented options change a # default value. #Port 22 #Protocol 2,1 #ListenAddress 0.0.0.0 #ListenAddress :: # HostKey for protocol version 1 #HostKey /etc/ssh/ssh_host_key # HostKeys for protocol version 2 #HostKey /etc/ssh/ssh_host_rsa_key #HostKey /etc/ssh/ssh_host_dsa_key # Lifetime and size of ephemeral version 1 server key #KeyRegenerationInterval 3600 #ServerKeyBits 768 # Logging #obsoletes QuietMode and FascistLogging #SyslogFacility AUTH #LogLevel INFO # Authentication: #LoginGraceTime 600 #PermitRootLogin no #StrictModes yes #RSAAuthentication yes #PubkeyAuthentication yes #AuthorizedKeysFile .ssh/authorized_keys # rhosts authentication should not be used #RhostsAuthentication no # Don't read the user's ~/.rhosts and ~/.shosts files #IgnoreRhosts yes # For this to work you will also need host keys in /etc/ssh/ssh_known_hosts #RhostsRSAAuthentication no # similar for protocol version 2 #HostbasedAuthentication no # Change to yes if you don't trust ~/.ssh/known_hosts for # RhostsRSAAuthentication and HostbasedAuthentication #IgnoreUserKnownHosts no # To disable tunneled clear text passwords, change to no here! #PasswordAuthentication no #PermitEmptyPasswords no # Change to no to disable s/key passwords #ChallengeResponseAuthentication no ←←noに変更 # Kerberos options #KerberosAuthentication no #KerberosOrLocalPasswd yes #KerberosTicketCleanup yes #AFSTokenPassing no # Kerberos TGT Passing only works with the AFS kaserver #KerberosTgtPassing no # Set this to 'yes' to enable PAM keyboard-interactive authentication # Warning: enabling this may bypass the setting of 'PasswordAuthentication' #PAMAuthenticationViaKbdInt yes #X11Forwarding no #X11DisplayOffset 10 #X11UseLocalhost yes #PrintMotd yes #PrintLastLog yes #KeepAlive yes #UseLogin no #UsePrivilegeSeparation yes #Compression yes #MaxStartups 10 # no default banner path #Banner /some/path #VerifyReverseMapping no # override default of no subsystems Subsystem sftp /usr/libexec/openssh/sftp-server ------------------------------------------------------------------- 以上を変更及び確認し保存する 詳細は http://www.unixuser.org/%7Eeuske/doc/openssh/jman/sshd_config.html を参照願います。 /etc/hosts.deny の設定 ALL: ALL すべてのアクセスを拒否 /etc/hosts.allow の設定 sshd : 192.168.0.0/255.255.255.0 :allow を追加 (LAN内からのみ、sshdへのアクセスを許可) 以上でサーバー側の初期設定は完了です。 # /usr/sbin/turboservice ------turboserviceの起動 sshdを選択(カーソル↓) SPACE キー入力で、sshdデーモンがスタート 起動時のサービスの設定 をセキュアレベルで設定する escで終了 |
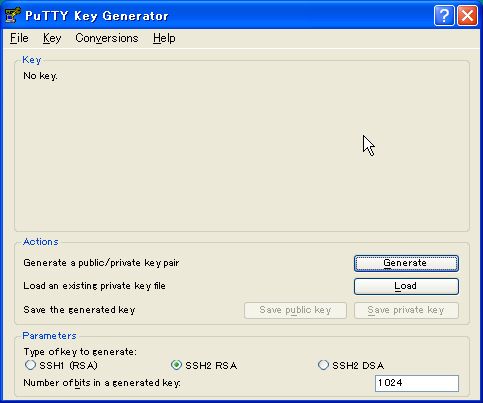
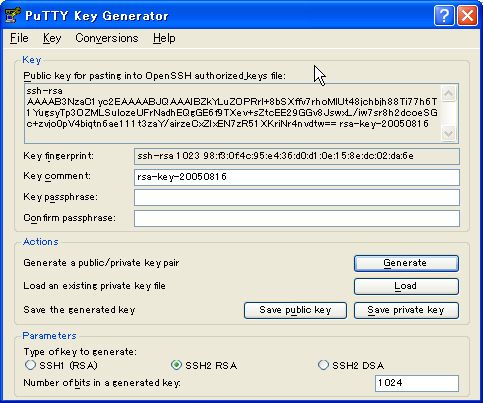
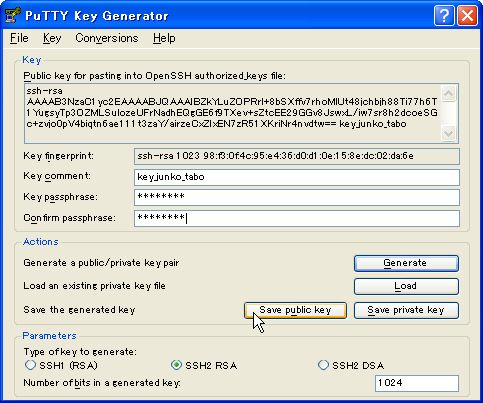
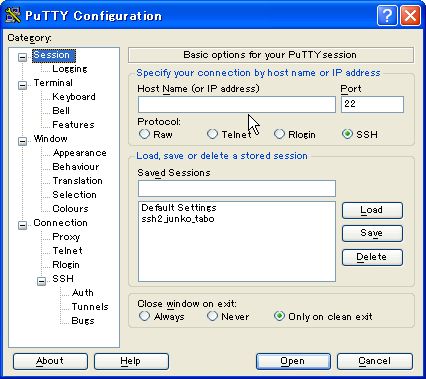
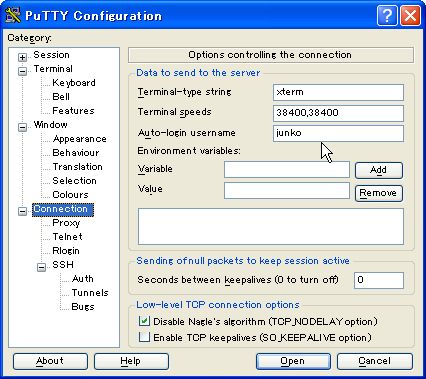
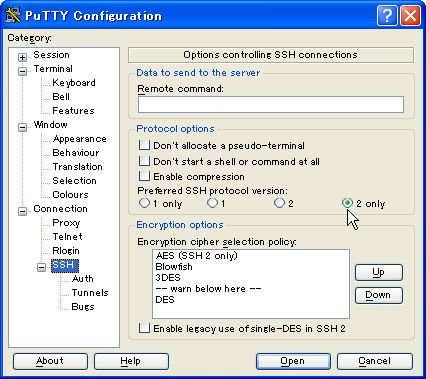
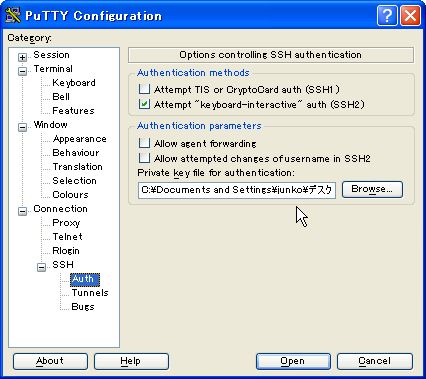
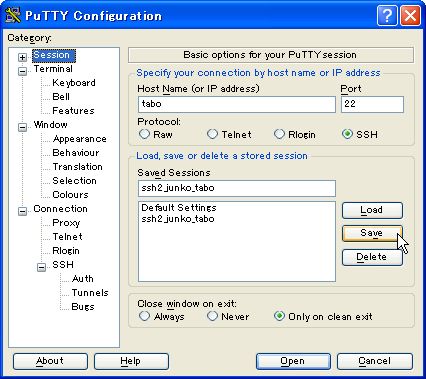
クライアント側の設定 下記サイトより、最新版 putty.exe ファイルをダウンロードする |